Image Filters are quite handy in TrakEM2 for example to increase the contrast (by using the CLAHE filter for example) in order to gain more features that can be used in the automatic alignment, or to homogenize images. The important point is, that the filters are only applied onto the mipmaps (kind of “preview” images you see in the canvas) and not onto the original files. Due to that these filters can be used temporarily for alignment purposes and removed afterwards e.g. before the aligned image stack is exported.
How to use image filters:
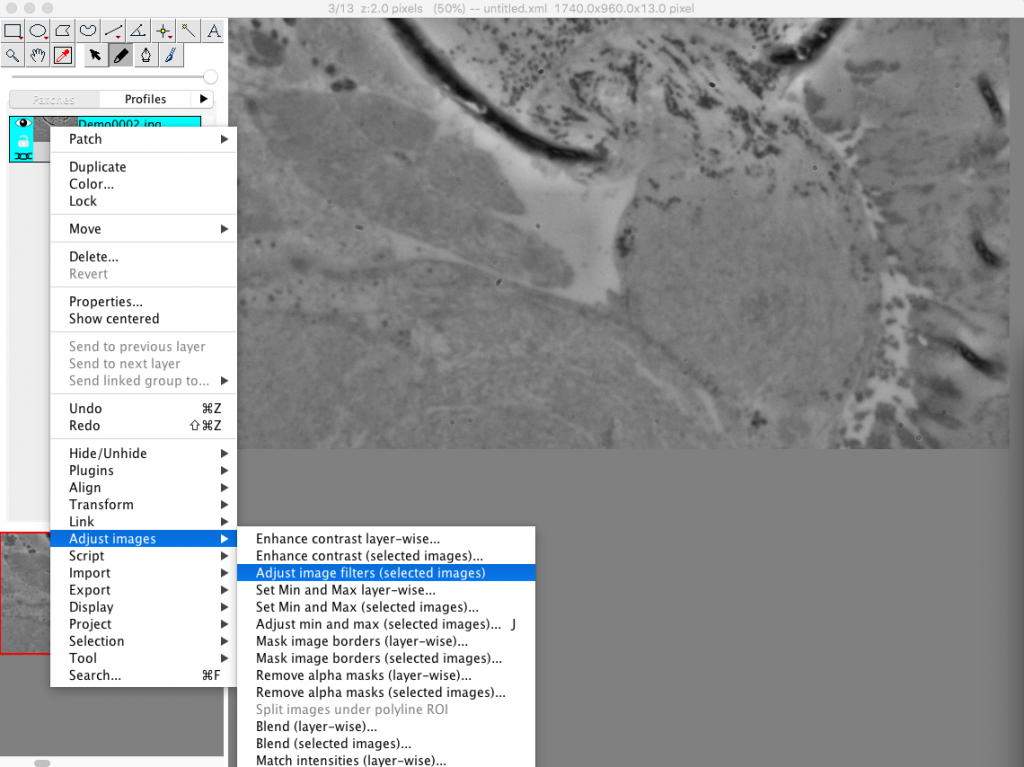
First left click with your mouse on an image in the left bar to activate it (turns blue).

Then right click onto the same image to access the dropdown menu. Image Filters are available under “Adjust images” –> “Adjust image filters”.
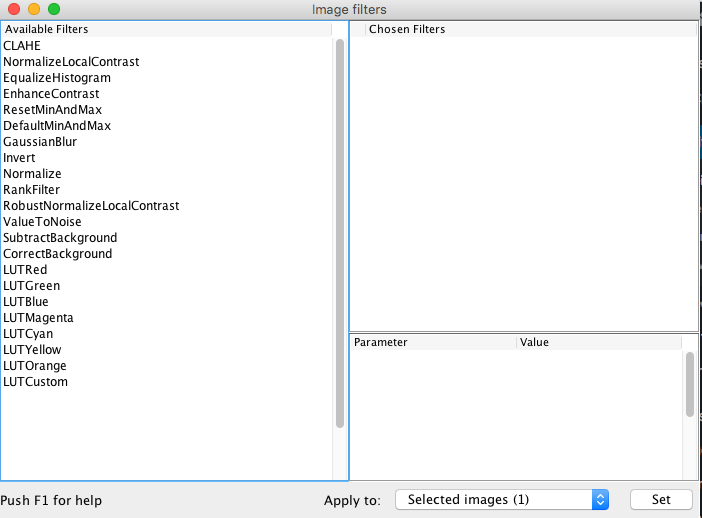
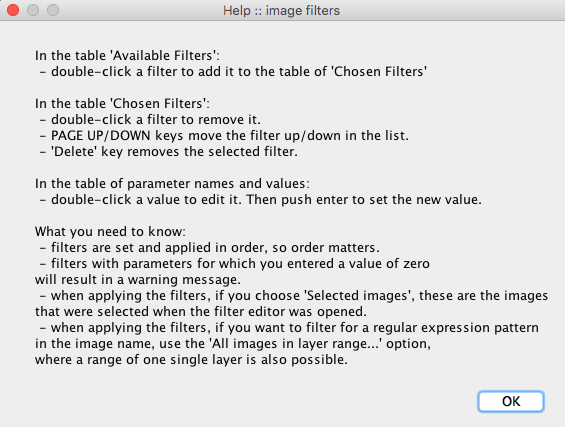
Push F1 to show the help file in order to show how filters are applied and removed. Basically a double click adds the filter to the list and also a double click removes it from the list. After that choose which images should be impacted by the filter (Dropdown menu: Apply to) and push set.
What if the wanted filter is not available in the list?
See the following post about running preprocessor scripts on image stacks in TrakEM2 (coming soon).
thanks for your detail explain. However, Is the CLAHE application paid ?
Dear Riani,
the CLAHE filter is integrated in FIJI and thus directly available.
Best
Stefan